
Product Reverse Engineering
Reverse engineer existing parts by using latest technology in measurement through digitizing and 3D Laser scanning.
Because of acquisition, licensing or other reasons, our customers have products that do not have accurate or complete set of drawings. They have a need to develop good engineering drawings for tools that they own for manufacturing purposes.
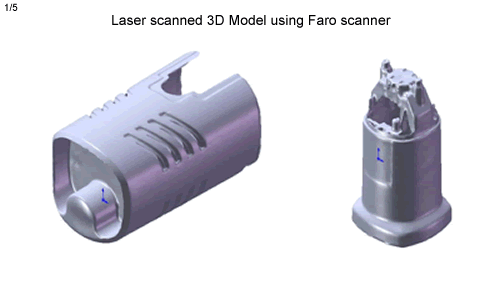
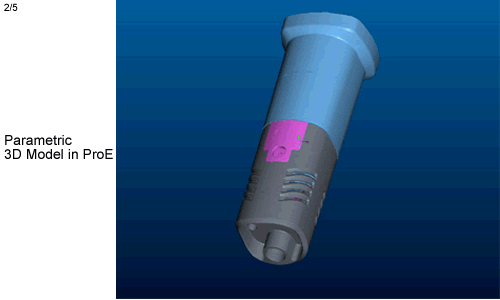
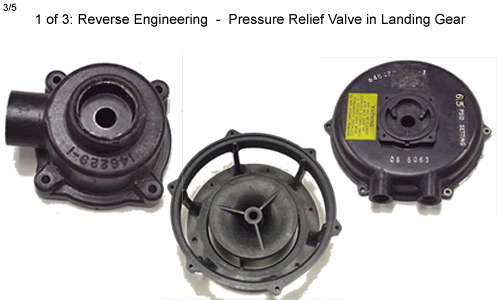
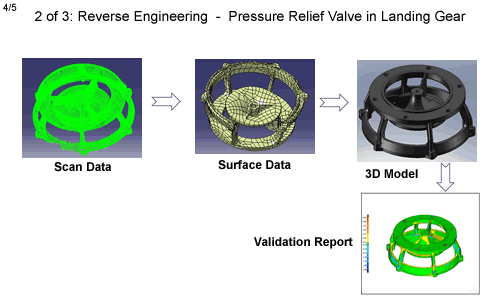
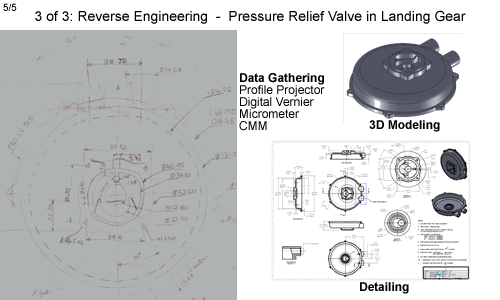
We have the capability to reverse engineer existing parts by using latest technology in measurement through digitizing and 3D Laser scanning. We can determine the metallurgy, hardness; surface finishes, and measure dimensions very accurately. Using this technology and the CAD capability, our engineers reverse our customer’s existing technology.
• Data collection & Study of physical
model.
• Measurement of component dimensions.
• Study of fit requirements and application of tolerances.
• Specification of material and Heat treatment.
• Modeling and generating manufacturing drawings.
• Establishment of manufacturing process and quality plans.
• Identification of tooling requirement and design.
• Establishment of assembly and testing procedures.
• Prototype manufacturing - Testing and approval.
• Final Documentation.
We use the Laser scanning and coordinate measuring machine (CMM) to scan the profile of the component.Once scan data is obtained surfaces of the model is developed from which the CAD model of the physical component is obtained.
Equipments For Measurement and Data Capture:
Digital Vernier, Micrometer, Profile Projecter, 3D Laser Scanning [Faro
Scanner, Z-Corp Scanner], 3D CMM.
Pre Processing Software:
Geo-Magic
Post Processing Soft-Ware
Pro-E, Catia V5, Unigraphics, Solid works.